Articles
How to Use A PTZ Camera: Unlocking the Full Potential
PTZ cameras give you more control and flexibility when creating your live-streaming setup. But if you’re new to these cameras, you may not know how to truly unlock their full potential.
We’re going to show you how to use a PTZ camera step by step, so you can make the most of it. But first, let’s talk about what these cameras are used for and their basic functions.
What Are PTZ Cameras Used For? Understanding the Basic Functions
Are you wondering, “What is a PTZ camera used for?” You’re not alone. There’s a good chance that you’ve seen these types of cameras before, but you just didn’t know what they were called.
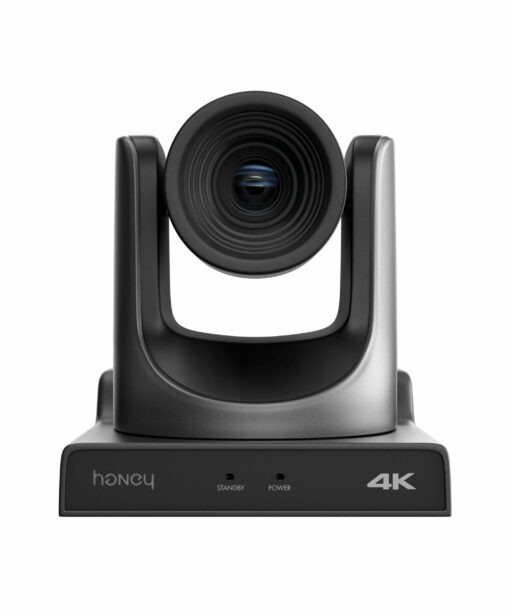
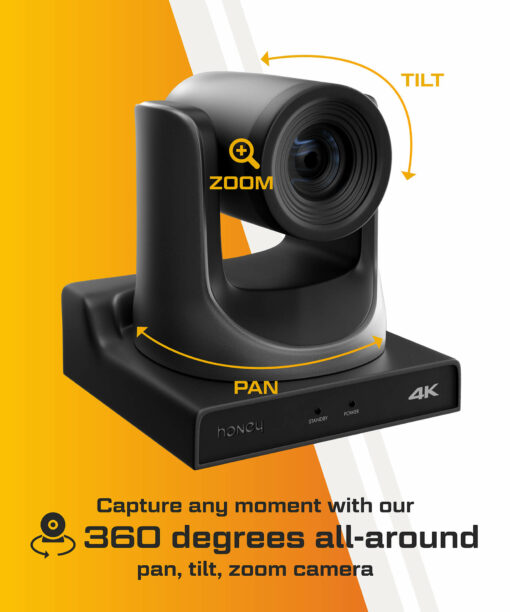
PTZ stands for Pan Tilt Zoom, and this acronym describes the camera’s function. PTZ cameras have built-in motors and remote controls that allow you to:
- Pan from right to left
- Tilt the camera up and down
- Zoom in or out
The motor allows for smooth panning, tilting and zooming, which can help take your streaming to a more professional level.
People use PTZ cameras for broadcasting or live-streaming:
- Church services
- Classes or lectures
- Live events (music, sports, etc.)
- Corporate training or meetings
- More
Although PTZ cameras have some advanced functions, they’re still easy to use.
Choose the Perfect PTZ Camera
How to Use a PTZ Camera: Step-by-Step Guide
In just a few simple steps, you can have your PTZ camera up and running for live-streaming, surveilling or broadcasting.
Step 1: Setting Up the PTZ Camera
Setting up your PTZ camera is a straightforward process. The first step is to power up your camera. Use the included power supply or a PoE (Power over Ethernet) capable network switch.
The next step is to get your camera connected to your network, so you can start controlling its functions.
Step 2: Connecting the PTZ Camera to Your Network
One of the simplest ways to control a PTZ camera is through your computer. Your desktop or laptop will also allow you to use streaming software or other platforms to create more professional video content.
But before you can get to that step, you first need to make sure that your camera and computer are connected to the same network.
- First, make sure that your camera and your computer are connected to your switch.
- Connect the switch to your network router.
- If you’re using a Honey Optics camera, you’ll want to download and install the Upgrade tool from our website. Once downloaded and installed, click the Search button to find your camera.
- Next, right-click on your camera, and click config.
- From here, you should be able to adjust the camera’s IP address. Typically, a static IP address is preferred, as it can easily be used to configure other equipment that will communicate with your camera.
For a more detailed explanation of how to connect your PTZ camera to your network, check out our video below.
Step 3: Accessing the PTZ Camera’s Web Interface
Once you’ve finished the configuration process and your camera has a new IP address, you can access its web interface and start configuring its settings.
Here’s how:
- Open your preferred web browser.
- Type the camera’s IP address into the address bar.
- Enter the default username and password. In most cases, it will be “admin” for both.
You should now be able to see the camera’s web interface, which should have controls for:
- Panning
- Tilting
- Zooming
- Focusing
- PTZ and focus speeds
- Audio
- More
Step 4: Configuring PTZ Camera Settings
At this stage, you should be able to see what your camera sees on the web interface. But you still need to send your camera’s image out to something.
If you’re using HDMI to connect your camera to your system, then configuring your camera’s settings starts with the rotary switch on the back of the camera. Each number or letter corresponds to a particular resolution or frame rate. Your camera should come with a chart that details this information for each option on the rotary switch.
It is crucial to choose the correct output, as choosing the wrong one will leave you with no video signal.
USB connections have separate settings that can be configured from your computer.
Step 5: Using the PTZ Camera Functions
One of the biggest advantages of using a pan tilt zoom camera is having the ability to control the camera’s functions remotely. With a traditional camera, panning and tilting is done manually by a camera operator. PTZ cameras eliminate that need, and allow you to use these functions right from its web interface.
From the interface, you can adjust the speed for:
- Panning
- Tilting
- Zooming
- Focusing
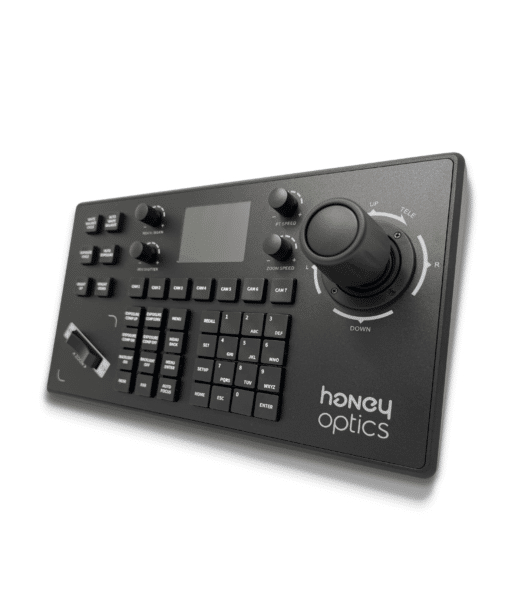
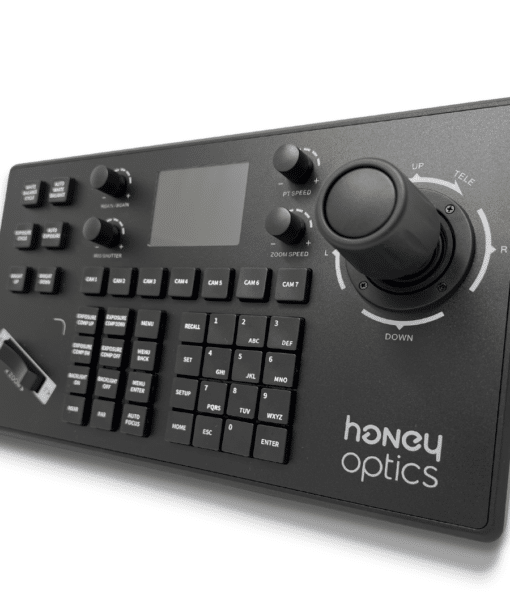
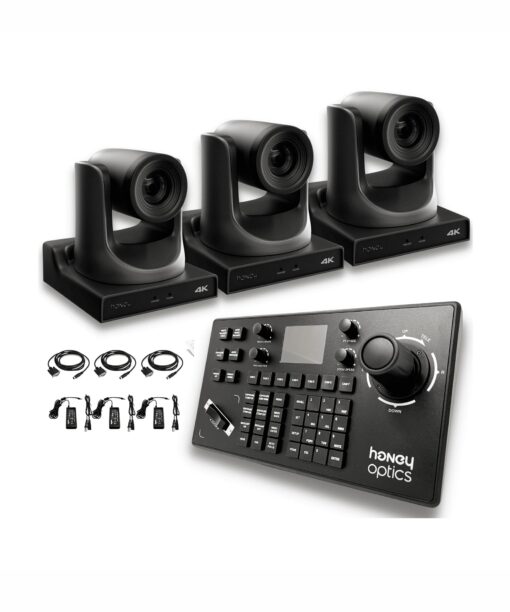
You can also use the pan, tilt and zoom functions by clicking the arrows and buttons on the interface. Alternatively, you can use a camera controller with a joystick for more intuitive camera controls.
Tips and Best Practices for Using PTZ Cameras
As you can see, setting up a PTZ camera is a simple process. But to truly get the most out of your video setup, you should follow the best practices for PTZ cameras.
- The SDI output will work best for running long cables. They can be run for up to about 300 feet without losing quality.
- HDMI cables work best for runs that are no more than 15-20 feet.
- When choosing a position for your camera, make sure that you consider your cabling and the distance to provide the highest quality output.
For more tips and best practices, check out our post 10 Best Church Live Stream Tips.
Conclusions
Now that you know how to use a PTZ camera and unlock its full potential, it’s time to start streaming. Use the tips and best practices above to deliver high-quality videos to your viewers.


